If you’re looking for a dessert that’s both eye-catching and absolutely delicious, look no further than Red Velvet Thumbprint Cookies. These little bites of heaven combine the classic flavors of red velvet with a creamy, luscious filling that will have everyone reaching for seconds (and thirds!).
Perfect for Valentine’s Day, Christmas, or any time you’re craving something sweet, these cookies are as fun to make as they are to eat. In this article, we’ll walk you through the recipe step by step, share tips for baking success, and even give you some creative twists to make them your own.
What Are Red Velvet Thumbprint Cookies?
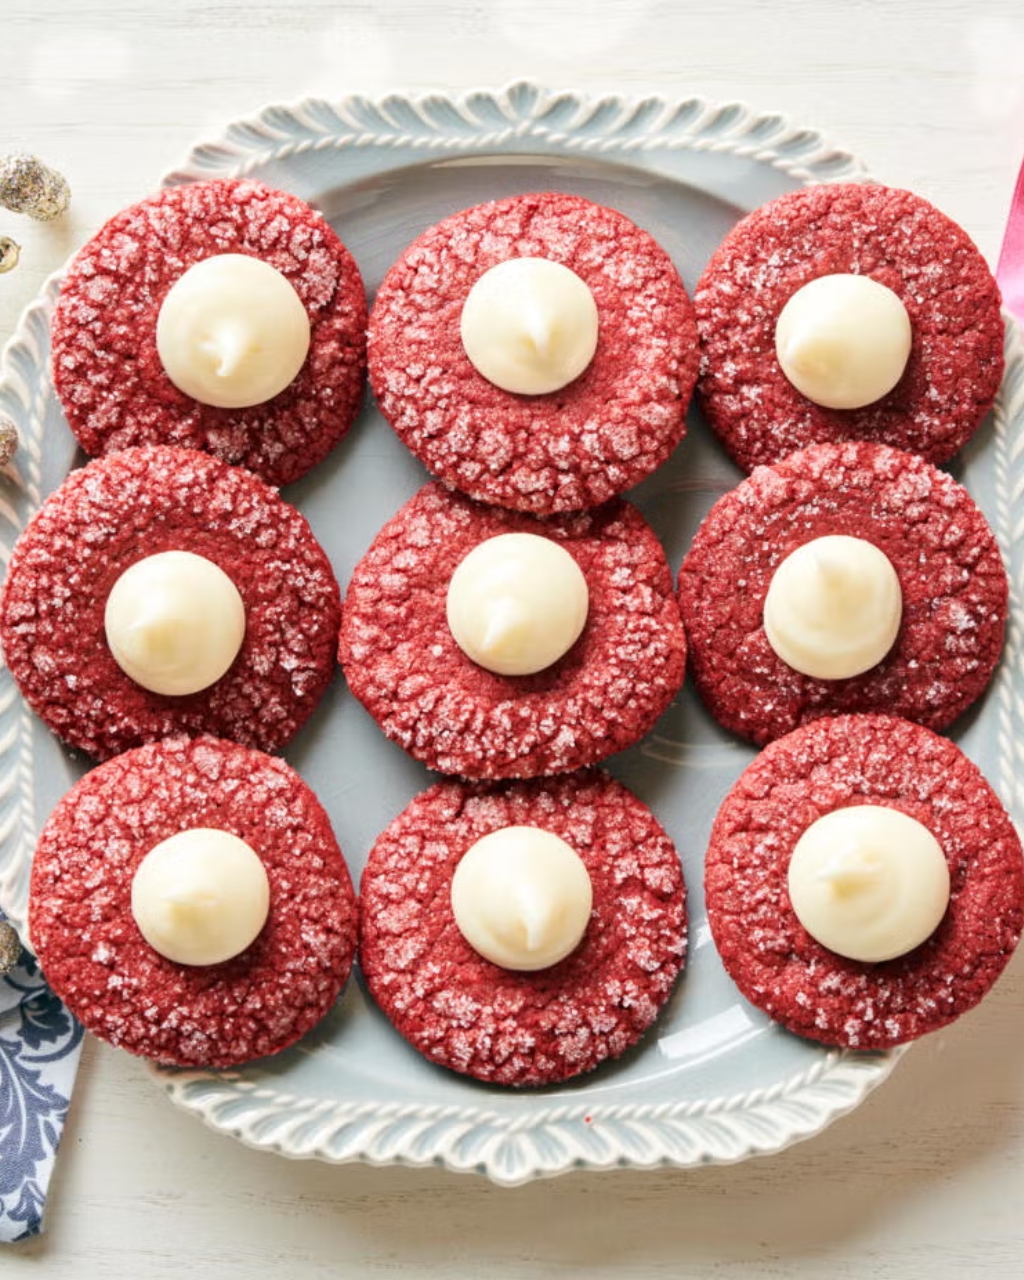
Thumbprint cookies are a classic dessert known for their soft, buttery texture and signature “thumbprint” indentation, which is usually filled with jam, chocolate, or cream. In this version, we’ve given them a red velvet twist—think rich cocoa flavor, a hint of tanginess, and that iconic red hue.
The filling? A dreamy cream cheese mixture that perfectly complements the cookie’s soft, chewy base. These cookies are not only delicious but also stunning to look at, making them a hit at parties, holiday gatherings, or as a homemade gift.
Ingredients You’ll Need
One of the best things about this recipe is how simple the ingredients are. Here’s what you’ll need to whip up these beautiful cookies:
For the Cookies:
- Unsalted Butter: Softened to room temperature for that perfect creamy texture.
- Granulated Sugar: Adds sweetness and helps the cookies hold their shape.
- Brown Sugar: For a hint of molasses flavor and extra chewiness.
- Egg Yolk: Adds richness and binds the dough together.
- Vanilla Extract: Enhances the overall flavor.
- Red Food Coloring: The key to that vibrant red velvet color.
- All-Purpose Flour: The base of the dough.
- Cocoa Powder: For that classic red velvet flavor.
- Salt: Balances the sweetness.
For the Filling:
- Cream Cheese: Softened for a smooth, creamy texture.
- Powdered Sugar: Sweetens the filling without making it grainy.
- Vanilla Extract: Adds a hint of flavor to the filling.
How to Make Red Velvet Thumbprint Cookies
This recipe is straightforward and beginner-friendly, so don’t worry if you’re not a seasoned baker. Just follow these steps:
Step 1: Make the Cookie Dough
- In a large mixing bowl, cream together the softened butter, granulated sugar, and brown sugar until light and fluffy.
- Add the egg yolk, vanilla extract, and red food coloring. Mix until fully combined.
- In a separate bowl, whisk together the flour, cocoa powder, and salt. Gradually add the dry ingredients to the wet ingredients, mixing until a dough forms.
Step 2: Shape the Cookies
- Preheat your oven to 350°F (175°C) and line a baking sheet with parchment paper.
- Roll the dough into small balls (about 1 inch in diameter) and place them on the baking sheet, spaced about 2 inches apart.
- Use your thumb or the back of a teaspoon to gently press an indentation into the center of each cookie.
Step 3: Bake
- Bake the cookies for 10-12 minutes, or until the edges are set but the centers are still soft.
- Remove from the oven and use a spoon to gently re-press the indentations if they’ve puffed up during baking. Let the cookies cool completely on the baking sheet.
Step 4: Make the Filling
- In a small bowl, beat together the cream cheese, powdered sugar, and vanilla extract until smooth and creamy.
- Transfer the mixture to a piping bag or a zip-top bag with the corner snipped off.
Step 5: Fill and Serve
- Once the cookies are completely cool, pipe the cream cheese filling into the indentations.
- Serve immediately or store in an airtight container in the refrigerator for up to 5 days.
Tips for Baking the Perfect Thumbprint Cookies
- Use Softened Butter: Make sure your butter is softened to room temperature for easy mixing and a smooth dough.
- Don’t Overbake: The cookies should be slightly underbaked when you take them out of the oven—they’ll firm up as they cool.
- Chill the Dough (Optional): If your dough feels too soft, pop it in the fridge for 15-20 minutes before shaping the cookies.
- Get Creative with the Filling: While cream cheese is a classic choice, you can also try chocolate ganache, Nutella, or even a dollop of raspberry jam for a different twist.
Why You’ll Love This Recipe
These Red Velvet Thumbprint Cookies are everything you could want in a dessert:
- Beautiful Presentation: The vibrant red color and creamy white filling make them a showstopper.
- Rich Flavor: The combination of cocoa, cream cheese, and vanilla is simply irresistible.
- Easy to Make: With simple ingredients and straightforward steps, this recipe is perfect for bakers of all skill levels.
- Versatile: They’re great for holidays, parties, or just a sweet treat to enjoy with your family.
Frequently Asked Questions
Can I Freeze These Cookies?
Yes! You can freeze the unfilled cookies in an airtight container for up to 3 months. When ready to serve, thaw them and add the cream cheese filling.
Do I Have to Use Red Food Coloring?
Not at all! If you prefer a natural look, you can skip the food coloring—the cookies will still taste amazing.
How Long Do These Cookies Last?
Stored in an airtight container in the fridge, these cookies will stay fresh for up to 5 days.
Nutritional Information (Per Cookie)
Here’s a rough estimate for each cookie:
- Calories: ~120
- Fat: 6g
- Carbs: 15g
- Protein: 1g
Final Thoughts: A Sweet Treat Worth Baking
Whether you’re looking to impress your guests, surprise your loved ones, or simply treat yourself, these Red Velvet Thumbprint Cookies are the perfect choice. They’re as delicious as they are beautiful, and they’re guaranteed to bring a smile to anyone who tries them.
So, what are you waiting for? Grab your ingredients, preheat your oven, and let’s get baking!
Have you tried this recipe yet? Let me know in the comments how yours turned out! ❤️