Introduction
Nothing says summer like indulging in a delicious ice cream treat on a hot day. Whether it’s a waffle cone stacked with your favorite flavor or a classic Klondike Bar, the combination of creamy ice cream and crisp chocolate coating is irresistible. While store-bought Klondike Bars are convenient, making them at home is surprisingly simple! With just a few ingredients and no ice cream maker required, you can whip up a batch of homemade Klondike Bars that taste just as good—if not better—than the original.
In this guide, we’ll show you how to make homemade Klondike Bars with an easy no-churn ice cream base and a rich chocolate shell. Plus, we’ll share tips and variations so you can customize your bars to your liking.
What Is a Klondike Bar?
Klondike Bars have been an American favorite since 1922 when they were introduced by the Isaly Dairy Company in Ohio. Originally available only in Ohio and Pennsylvania, these ice cream bars gained nationwide popularity in the 1980s, thanks to the famous “What would you do for a Klondike Bar?” advertising campaign.
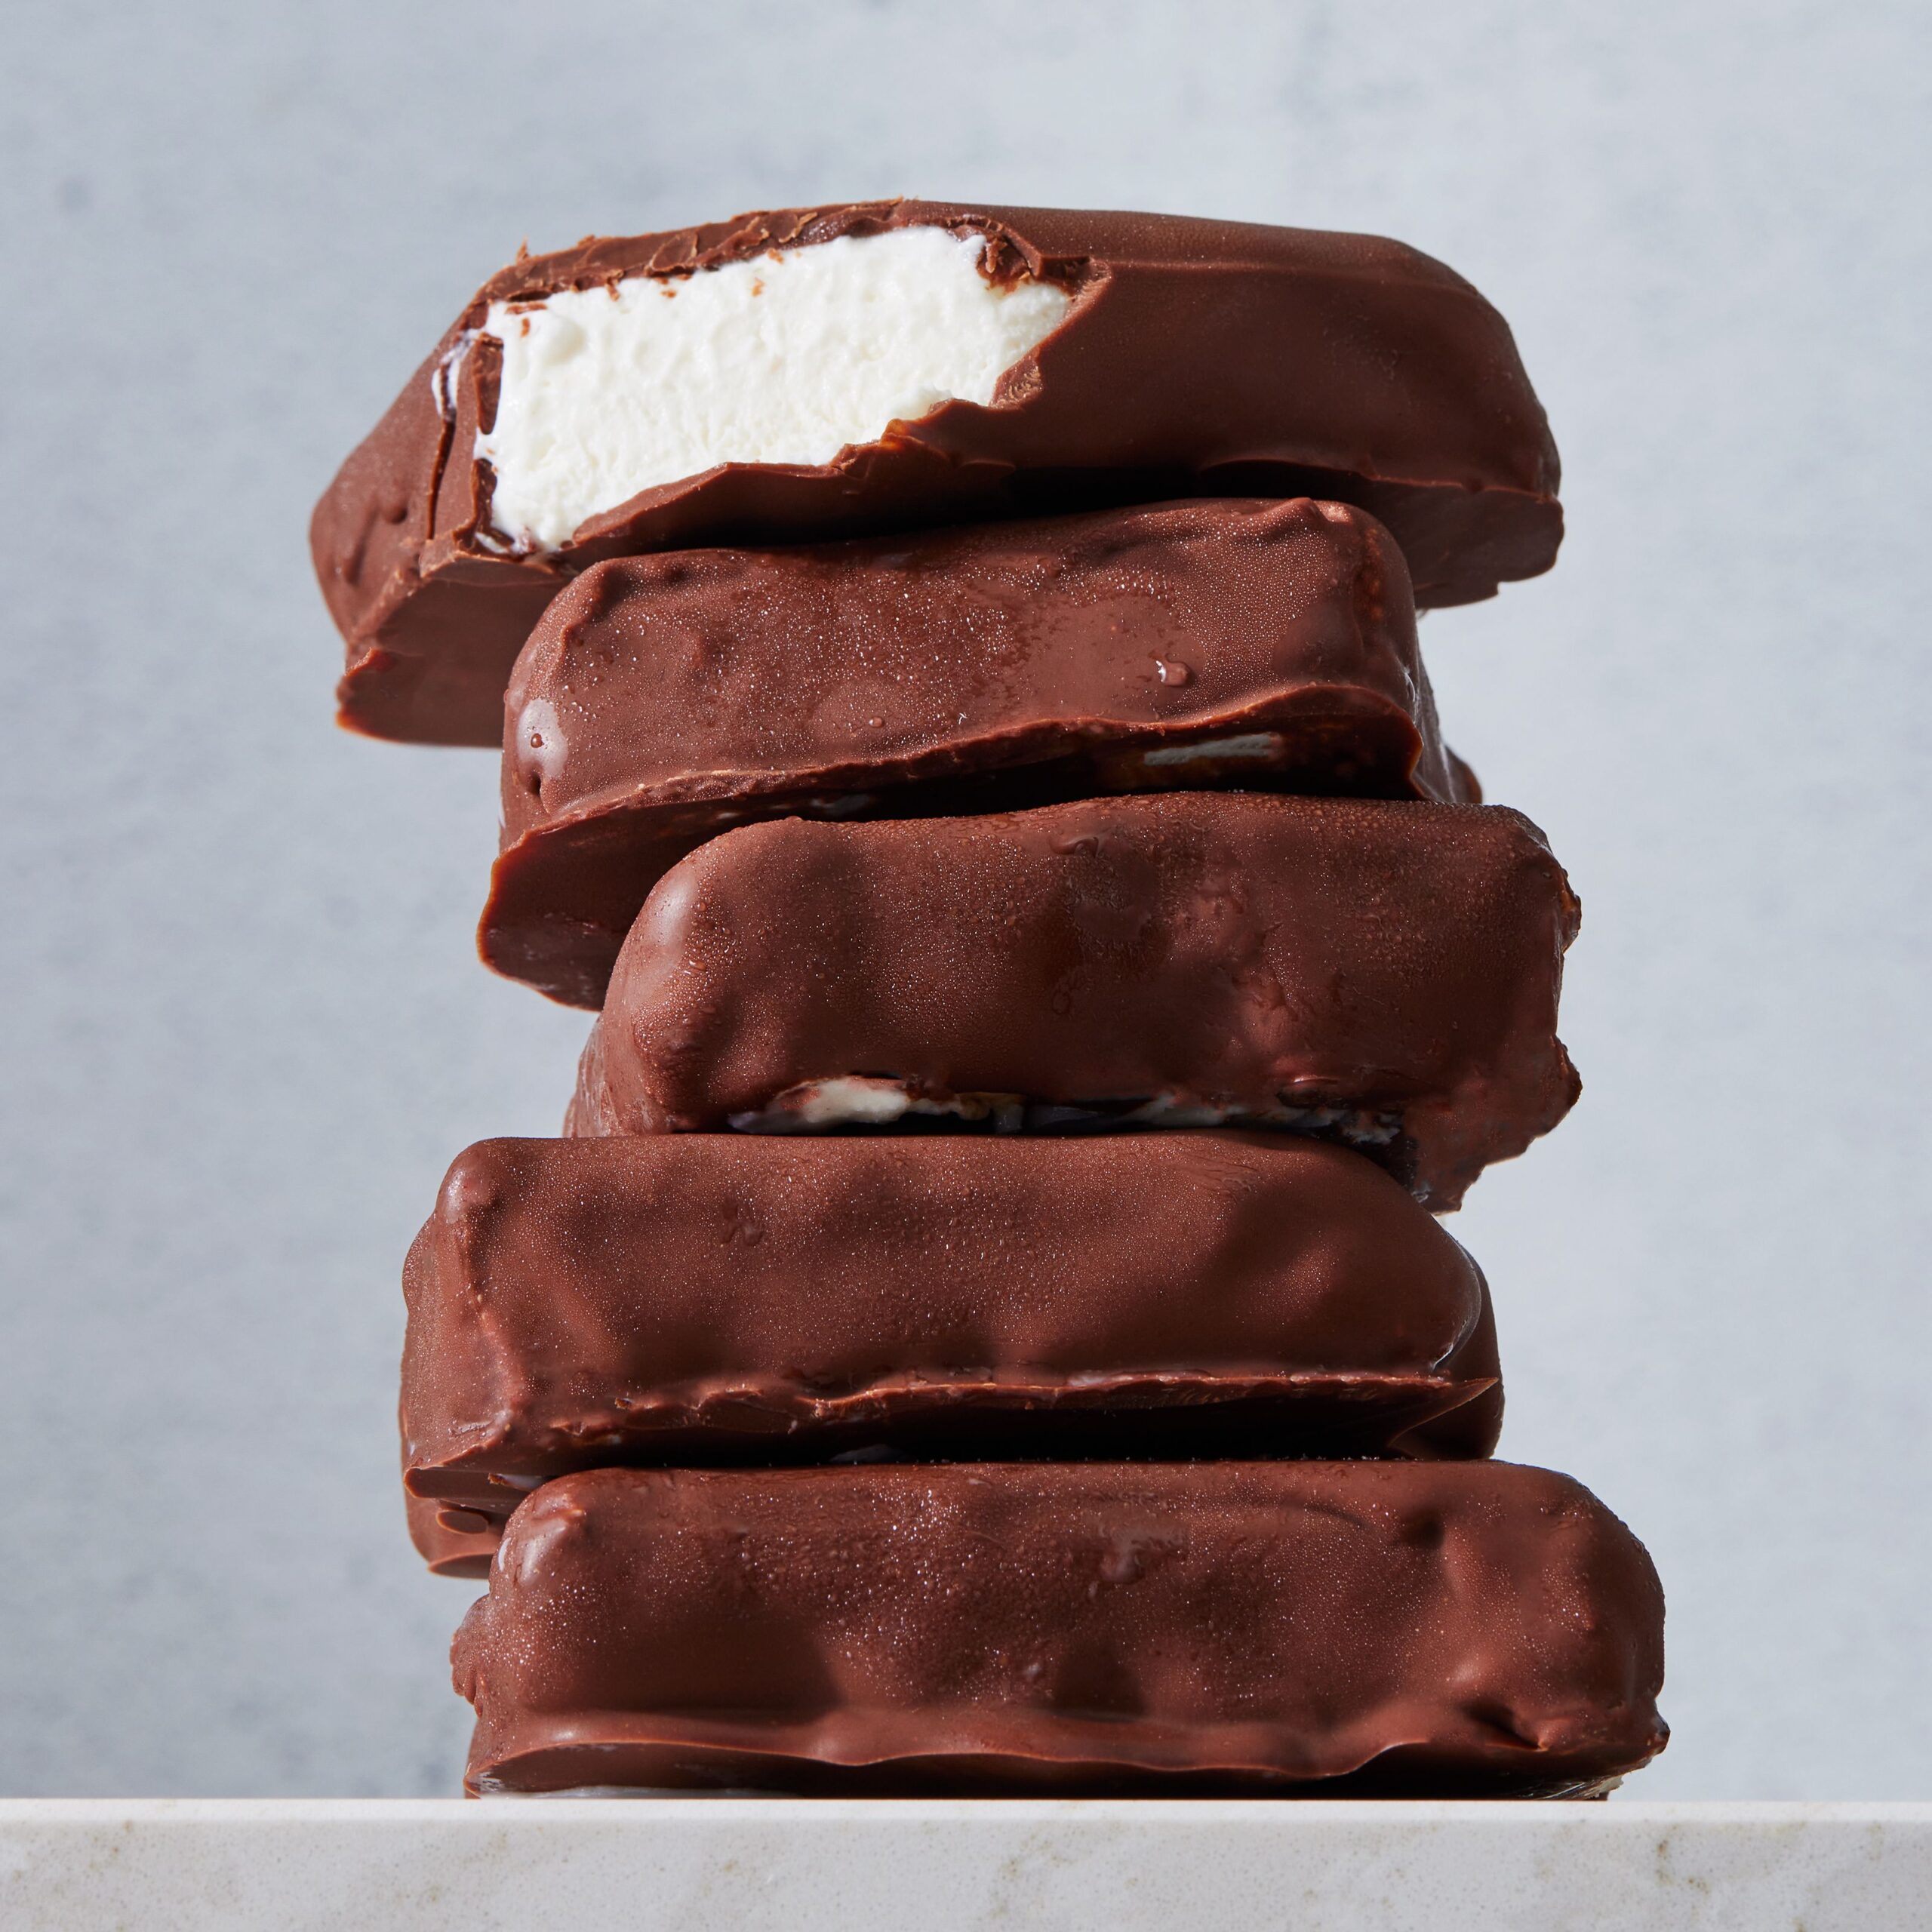
A Klondike Bar consists of a creamy vanilla ice cream center encased in a crisp chocolate shell. The contrast between the smooth ice cream and the crunchy chocolate coating is what makes this treat so iconic.
Why Make Klondike Bars at Home?
While Klondike Bars are readily available in grocery stores, making them at home has several benefits:
- Fewer additives – Homemade versions avoid preservatives and artificial flavors.
- Customizable flavors – You can experiment with different ice cream bases and coatings.
- Fun and rewarding – Perfect for a family-friendly kitchen project!
Ingredients for Homemade Klondike Bars
For the Ice Cream:
- 1/2 cup whole milk
- 1/3 cup granulated sugar
- 1 teaspoon pure vanilla extract
- 1/4 teaspoon kosher salt
- 1 cup heavy cream
For the Chocolate Coating:
- 1 1/2 cups semisweet chocolate chips
- 2/3 cup refined coconut oil (for a crisp, glossy shell)
Step-by-Step Instructions
Step 1: Prepare the Ice Cream
- Line a baking pan: Use an 8-inch square pan and line it with two overlapping sheets of parchment paper. Leave extra overhang to help lift the ice cream out later.
- Dissolve the sugar: In a small saucepan over medium-low heat, combine milk, sugar, vanilla, and salt. Stir occasionally until the sugar dissolves (about 2 minutes), then let the mixture cool to room temperature.
- Whip the cream: In a large mixing bowl, use a hand mixer or stand mixer to beat the heavy cream until stiff peaks form (about 3-5 minutes).
- Combine the mixtures: Gently fold the cooled milk mixture into the whipped cream until well incorporated.
- Freeze the ice cream: Pour the mixture into the prepared pan, spread evenly, and cover with foil. Freeze for at least 8 hours (preferably overnight) until firm.
Step 2: Cut the Ice Cream into Squares
- Once frozen, run a butter knife around the edges to loosen the ice cream.
- Lift the ice cream block from the pan using the parchment paper overhang.
- Flip onto a cutting board lined with parchment paper.
- Using a sharp knife, slice into 9 equal squares. Wipe the knife clean between cuts for neat edges.
- Cover the ice cream squares with plastic wrap and return to the freezer.
Step 3: Prepare the Chocolate Shell
- Melt the chocolate: In a microwave-safe bowl, heat the chocolate chips in 30-second intervals, stirring in between, until fully melted.
- Add coconut oil: Stir in the coconut oil until the mixture is smooth and glossy.
- Cool slightly: Let the chocolate mixture cool to about 80°F before dipping to ensure a thin, even coat.
Step 4: Dip and Assemble the Bars
- Set up your dipping station: Transfer the chocolate to a deep bowl (about 5-6 inches in diameter for easy dipping).
- Dip the bars: Using a fork, lower each ice cream square into the chocolate, ensuring a complete coating. Lift and let excess chocolate drip off.
- Set the chocolate: Place the coated bar on a parchment-lined baking sheet. Repeat with the remaining squares.
- Freeze again: Freeze for 15 minutes until the chocolate shell is fully set.
- Store properly: Wrap each bar in foil and place them in a gallon-sized freezer bag for long-term storage.
Tips for the Perfect Klondike Bar
- Use refined coconut oil – This helps the chocolate shell harden with a satisfying crunch.
- Work quickly – Ice cream melts fast! If needed, freeze squares between dipping.
- Keep a cold surface handy – A chilled cutting board helps maintain the ice cream’s firmness.
- Choose the right dipping bowl – A small but deep bowl ensures full coverage without excessive chocolate waste.
Flavor Variations
While the classic vanilla and chocolate combination is unbeatable, you can experiment with different flavors and textures:
- Chocolate Ice Cream: Mix cocoa powder into the ice cream base for a richer treat.
- Mint Chocolate Chip: Add peppermint extract and mini chocolate chips.
- Strawberry Swirl: Swirl in pureed strawberries before freezing.
- Cookie Dough: Fold in edible cookie dough chunks.
- Nut Toppings: Sprinkle chopped nuts on the wet chocolate before it sets.
- Salty-Sweet: Try crushed pretzels or potato chips for a crunchy contrast.
Frequently Asked Questions
How long do homemade Klondike Bars last in the freezer?
Properly stored, these bars will stay fresh for up to 3 months.
Can I use a different type of chocolate?
Yes! Dark chocolate, white chocolate, or even flavored coatings like peanut butter chocolate work well.
What if I don’t have coconut oil?
You can substitute it with vegetable oil, but the shell might not be as crisp.
Conclusion
Making your own Klondike Bars is easier than you might think, and the results are absolutely delicious. With a creamy no-churn ice cream center and a perfectly crisp chocolate coating, these homemade treats are sure to be a hit with family and friends. Plus, with endless flavor possibilities, you can customize them to your taste.
Ready to try making Klondike Bars at home? Let us know in the comments how they turned out and what variations you experimented with!
Meta Description: Make homemade Klondike Bars with this easy no-churn ice cream recipe! Learn how to create the perfect chocolate-coated treat with simple ingredients. Perfect for summer!