When the leaves start turning and there’s a nip in the air, you know it’s time to break out the apples and start baking. And let me tell you, these Baked Apple Fritters are about to become your new fall obsession! They’re easier than pie, healthier than their fried cousins, and so darn good you’ll want to make them every weekend from now ’til Christmas!
Why You’ll Fall Head Over Heels for These Baked Apple Fritters
- Quick as a wink (only 30 minutes from start to finish!)
- Baked, not fried (so you can have two… or three!)
- Uses simple ingredients (no fancy stuff here, folks)
- Perfect for using up those extra apples (waste not, want not!)
- Makes your kitchen smell better than any fall-scented candle
The Secret to These Heavenly Fritters
Now, don’t be intimidated by the ingredient list. It’s mostly stuff you’ve already got in your pantry! Here’s what makes these fritters special:
- A mix of all-purpose and white whole wheat flour (for the perfect texture)
- Brown sugar (for that caramel-y goodness)
- A blend of warm spices (cinnamon, nutmeg, and allspice, oh my!)
- Cold butter (the key to flaky fritters)
- Fresh, tart apples (the star of the show!)
How to Whip Up Your Own Baked Apple Fritters
- Mix the Dry Ingredients: Whisk those flours, sugar, and spices together like you’re casting a delicious spell.
- Cut in the Butter: This isn’t the time to get your hands dirty – use a pastry cutter or two forks to work that cold butter in.
- Add the Wet Ingredients: Stir in the milk, egg, and vanilla, but don’t go crazy! Overmixing is the enemy of tender fritters.
- Fold in the Apples: Gently does it, now. You want chunks of apple in every bite!
- Scoop and Bake: Drop spoonfuls onto your baking sheet and let the oven work its magic.
- Glaze and Broil: This is the secret to that crunchy, caramelized exterior. It’s like fried, but better!
Pro Tips from Your Fritter Fairy Godmother
- Use tart, firm apples for the best flavor (Granny Smith or Honeycrisp are my go-to)
- Don’t flatten the batter on the baking sheet – they’ll spread just right on their own
- For a maple twist, swap the vanilla in the glaze for maple extract
- Let them cool a bit before diving in (I know it’s hard, but your taste buds will thank you!)
Storing Your Apple Fritter Perfection
Who are we kidding? These won’t last long enough to store! But if you happen to have superhuman willpower:
- They’re best eaten the same day (twist my arm, why don’t you?)
- Store any leftovers in an airtight container at room temperature
There you have it, darlings! A Baked Apple Fritter recipe that’ll make you the talk of the town. Now, let’s get baking!
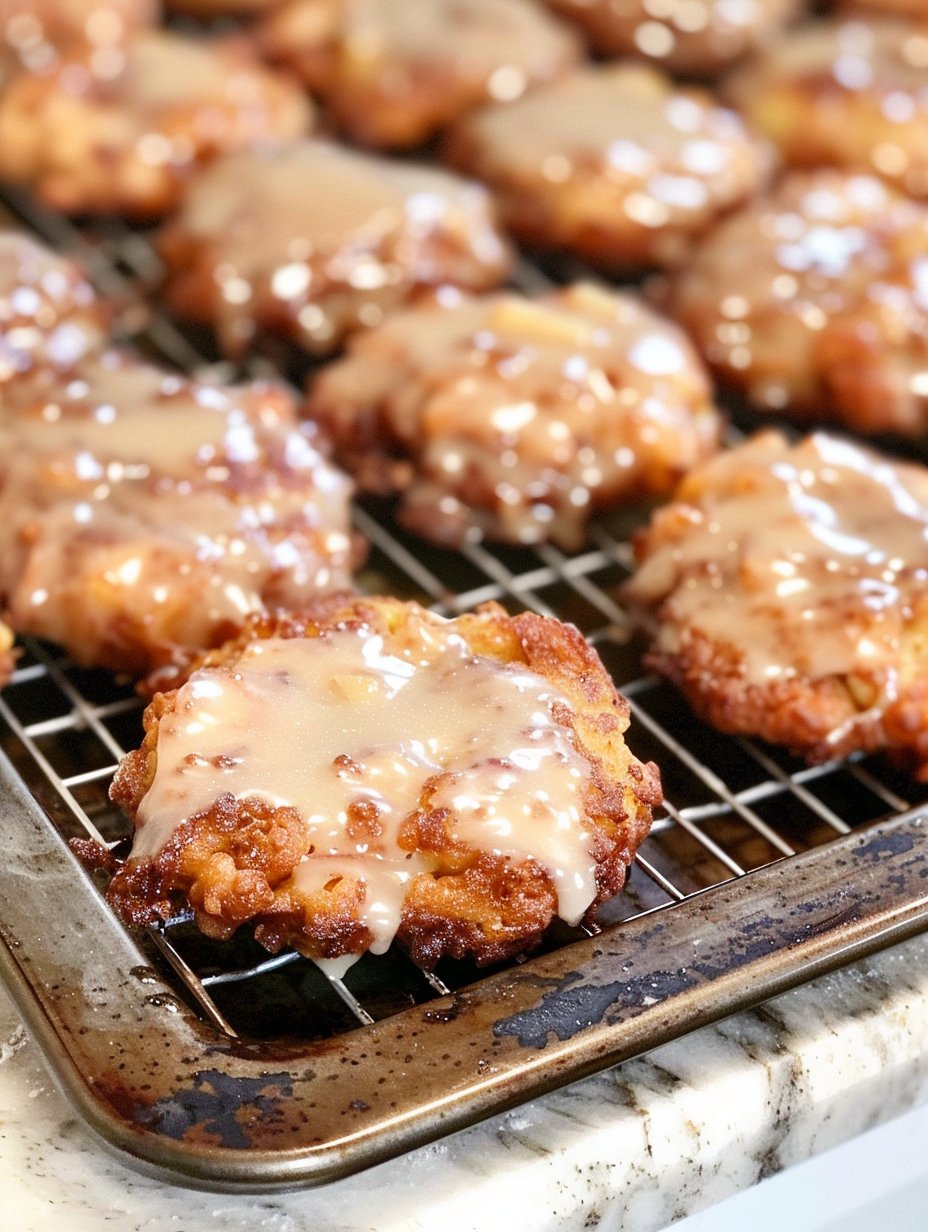
Baked Apple Fritters
these Baked Apple Fritters are about to become your new fall obsession! They’re easier than pie, healthier than their fried cousins, and so darn good you’ll want to make them every weekend from now ’til Christmas!
Servings: 8
Ingredients
For the Fritters:
- 3/4 Cup all-purpose flour
- 3/4 Cup white whole wheat flour
- 1/2 Cup brown sugar
- 2 teaspoons baking powder
- 1 teaspoon cinnamon
- 1/2 teaspoon nutmeg
- 1/4 teaspoon allspice
- 1/4 teaspoon salt
- 6 Tablespoons butter cold and cut into pieces
- 1/2 Cup milk
- 1 egg
- 1 teaspoon vanilla extract
- 1 Cup chopped apple
For the Glaze:
- 1 Cup confectioner’s sugar
- 2 Tablespoons milk
- 1 teaspoon vanilla extract
Instructions
-
Preheat oven to 400°F. Line a baking sheet with a silicone baking mat.
-
In a large bowl, whisk together flours, brown sugar, baking powder, and spices.
-
Cut in butter until mixture resembles coarse crumbs.
-
In a small bowl, whisk milk, egg, and vanilla. Add to flour mixture and stir until just combined.
-
Gently stir in chopped apple.
-
Drop by 1/4 Cup-full onto prepared baking sheet.
-
Bake for 11-13 minutes, until bottoms are golden and center is set.
-
Remove to a wire rack and turn oven to broil.
-
Prepare glaze by whisking confectioner’s sugar, milk, and vanilla.
-
Brush a thin layer of glaze over fritters. Broil for 2-4 minutes, until tops are golden.
-
Brush remaining glaze over warm fritters.
-
Allow glaze to harden and serve.